My driving force in life and my business is simple, I love to create and deliver happiness with fantastic service and products.
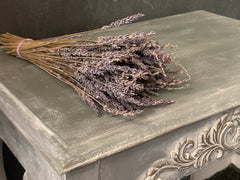
Up cycling this table certainly made me very happy.
We have had a huge surge in interest in our products since Covid. I think one of the reasons is, that during Lockdowns we all had plenty of time to look around our homes, noticing things that could be shushed up, to make our nests a more pleasant place live in. And of course we do offer an ever-expanding range of specially procured, interesting products to help you all achieve fabulous results with your up cycling and crafting projects!
Quite simply, there are a lot of us that simply do it for the absolute pleasure and fulfilment we get out of using our hands and minds, creating and up Cycling with The DIY Dreampaint- Newton's Chalk Finish paint®.


My latest project is this little unloved Queen Anne style side table. It was covered in high gloss epoxy and on it's way to be dumped on to a curb for free pick up! For prep work I simply gave it a good clean with some warm soapy water.

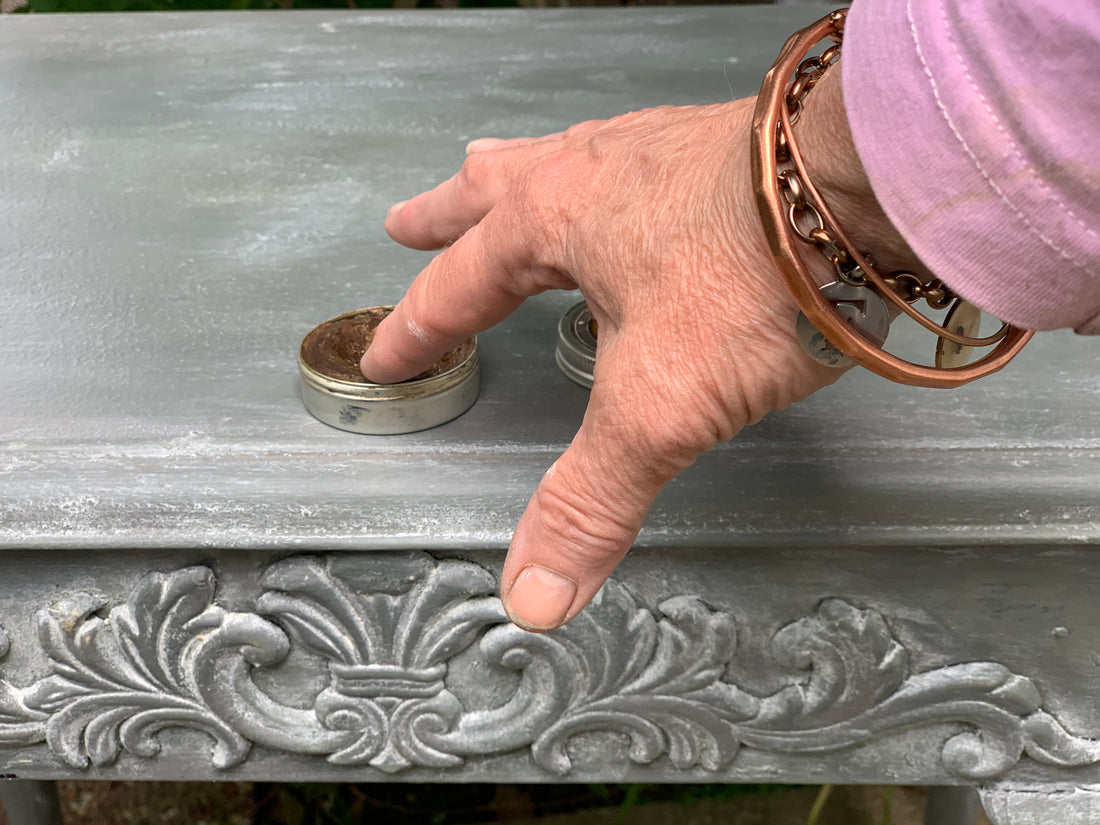
Before starting to Chalk paint I glued this Efex rubber moulding to the front centre of the table using Gorilla contact glue.

I applied 2 coats of Newton's French Olive Chalk paint STRAIGHT over the not sanded table and moulding with my favourite brush, our large size Professional Italian Chalk Painters Brush.
It only took approximately 90mins to dry between each coat.